


Enlarging an image without losing quality is a common challenge faced by graphic designers, photographers, marketers, and content creators. Whether you're working on a print project, a website, or social media content, maintaining the clarity and sharpness of an image as you scale it up is crucial for a professional look.
In this article, we'll explore several methods to enlarge images without compromising their quality. Whether you're using software, online tools, or AI-powered solutions, there are strategies to help you achieve high-quality results. We’ll also discuss some best practices and tips for improving image quality while enlarging.
Why Enlarging an Image Without Losing Quality is Important
The primary goal of enlarging an image is to ensure it doesn't lose its sharpness or clarity. When you scale an image up without proper techniques, you can end up with a pixelated or blurry result. This can be particularly problematic for eCommerce businesses, marketing campaigns, or printing high-quality graphics.
For example, businesses looking to create banners or large print advertisements need images that maintain crisp quality when viewed up close. On the other hand, if you’re designing product images for your website or social media, ensuring clear and high-resolution images is essential for building brand credibility and engagement.
Methods to Enlarge an Image Without Losing Quality
There are several methods to enlarge an image without sacrificing quality. Let’s look at some of the most effective techniques.
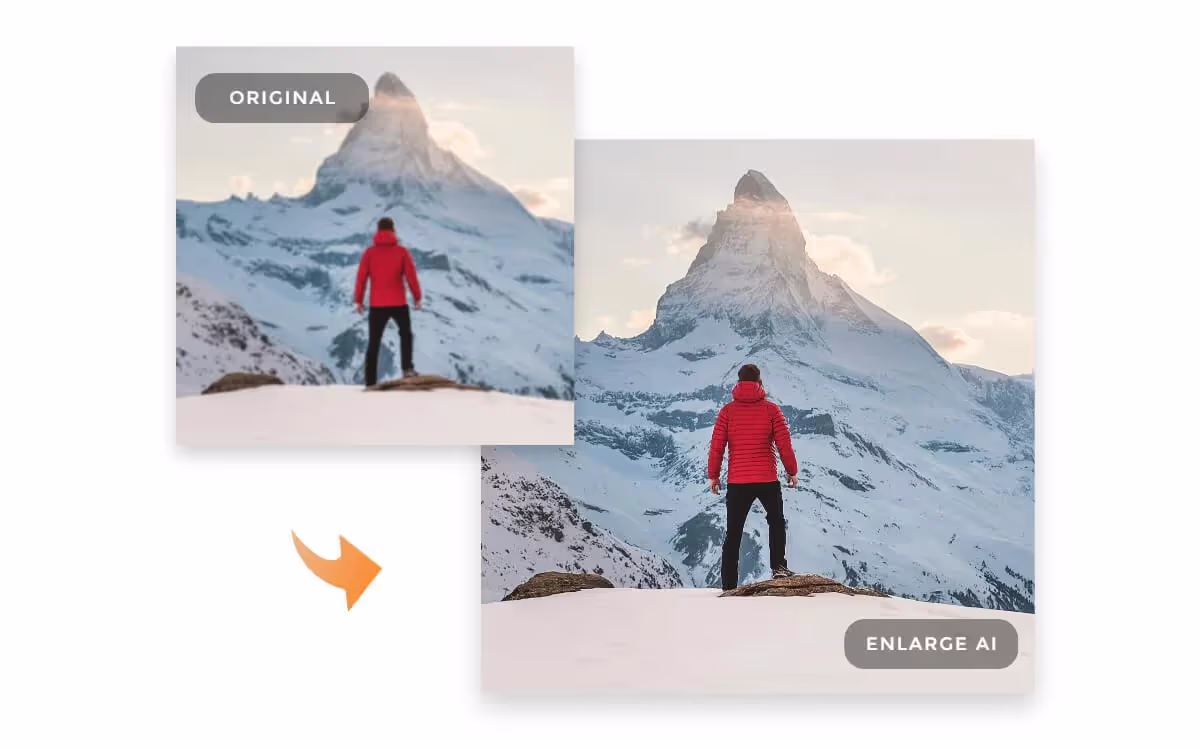
1. Using AI Image Upscaling Tools
AI-powered image upscaling tools are quickly becoming the go-to solution for enlarging images without losing quality. These tools use advanced algorithms to intelligently add pixels to the image, improving the resolution while maintaining detail.
Some popular AI-based tools include:
- Waifu2x: Originally designed for enlarging anime-style images, this tool uses deep convolutional neural networks (CNN) to upscale images while minimizing noise and preserving quality.
- Bigjpg: Bigjpg is an AI-driven tool that can enlarge images up to 4x their original size without losing quality, making it ideal for print or large displays.
Why it works: AI tools use machine learning models that predict how to scale up the image based on patterns they’ve learned, preserving the image’s sharpness, edges, and colors.
Best for: Photographers, designers, and businesses looking to upscale images quickly without spending time on manual adjustments.
2. Using Photoshop for Image Resizing
Adobe Photoshop is one of the most powerful tools for resizing images without losing quality. It provides various methods to resize and resample images with minimal distortion.
To resize an image in Photoshop without losing quality, follow these steps:
- Open the image in Photoshop.
- Go to "Image" in the top menu and click "Image Size."
- In the dialog box, ensure that the "Resample" box is checked, which will enable Photoshop to intelligently adjust the image’s pixels while maintaining the quality.
- Choose a resampling method, such as “Preserve Details (Enlargement)” for the best results.
- Adjust the width and height of the image, ensuring that the resolution stays at 300 DPI (for print purposes) or 72 DPI (for web use).
- Click OK to apply the changes.
Why it works: Photoshop's resampling algorithms and advanced tools like “Preserve Details” intelligently add pixels and improve image quality when enlarging.
Best for: Graphic designers, print professionals, and anyone working with detailed or high-quality images.
3. Upscaling with Online Tools
If you don't have access to Photoshop or prefer a quick and easy solution, several online tools allow you to upscale your images without losing quality. These tools often use AI technology to upscale images in just a few clicks.
Some recommended online tools include:
- Let’s Enhance: This online tool allows you to enhance your image resolution and enlarge it by up to 500% while maintaining quality.
- Fotor: Fotor provides an easy-to-use interface for enlarging images without losing clarity. It’s great for casual users who need a simple and fast solution.
- DeepAI Image Upscaler: DeepAI offers an online tool that uses AI to upscale images and reduce the pixelation that usually occurs when enlarging images.
Why it works: These tools are powered by AI, which uses advanced algorithms to upscale images intelligently while preserving important details.
Best for: Small businesses, marketers, and individuals who need a quick solution without requiring advanced software.
4. Upscaling Images for Print
For print projects, enlarging images without losing quality is particularly important, as pixelation and blurriness can make a print job look unprofessional. To ensure the best quality for print projects, you should follow these best practices:
- Start with the highest resolution image possible: The higher the original resolution, the better the chances that you’ll be able to enlarge it without losing quality.
- Ensure the DPI (dots per inch) is high: For printing, the image resolution should be at least 300 DPI to ensure the print quality is sharp.
- Use vector graphics when possible: Unlike raster images (like JPG and PNG), vector graphics (such as SVG files) can be scaled infinitely without losing any quality.
Why it works: By starting with high-quality images and maintaining a high DPI, you’ll ensure that the image remains sharp and detailed even when printed at a large scale.
Best for: Businesses involved in print marketing, packaging, or designing large-format advertisements and promotional materials.
5. Choosing the Right File Format
The file format of an image plays a significant role in determining how well it scales. Some formats preserve quality better than others.
For example:
- JPEG and PNG: While these formats are common for web use, they can lose quality when enlarged significantly.
- TIFF: TIFF files are ideal for high-quality images and retain more detail when resized. This format is especially useful for print purposes.
- SVG: Scalable Vector Graphics (SVG) are the best option for graphics and logos as they can be scaled infinitely without any loss of quality.
Why it works: The file format affects how the image retains its quality during enlargement. Choosing the right format ensures that you preserve as much detail as possible when upscaling.
Best for: Graphic designers, web developers, and anyone working with logos or vector-based graphics.
Best Practices for Enlarging Images Without Losing Quality
When it comes to enlarging images, the goal is to maintain the clarity, sharpness, and overall quality of the image as it is scaled up. Here are some best practices that will help you achieve the best results when enlarging your images:
1. Start with the Highest Quality Original Image
The starting point is crucial when resizing an image. The better the quality of the original image, the better the result when it’s enlarged. High-resolution images contain more pixel data, which means there is more information available for the software to work with when enlarging. This additional pixel data allows the image to retain its sharpness and avoid looking pixelated or blurry after scaling.
Why it matters
If your original image is low resolution or already pixelated, enlarging it will only exaggerate the issues. For example, if you start with a 72 DPI image (standard for web use), enlarging it for print may result in visible pixelation. However, if the image has a higher resolution, such as 300 DPI (ideal for print), it will scale much more effectively with minimal quality loss.
Tip: Before enlarging any image, check the resolution and dimensions. For print, always aim for images with at least 300 DPI. For digital use, 72 DPI is generally sufficient, but higher resolution images are preferred for better quality.
2. Don’t Enlarge Images Beyond Their Capabilities
Even with advanced tools like AI-powered upscalers or Photoshop, every image has its limits. Enlarging an image too much can still result in a loss of quality, no matter how good the tool is. It’s important to be realistic about how much you can enlarge an image before quality starts to degrade.
Why it matters
As an image is enlarged, the software must “guess” or interpolate missing pixel data. If you enlarge an image too much, these guesses may become inaccurate, causing the image to lose sharpness and appear blurry or pixelated. For example, enlarging an image from 500px to 5000px may cause a noticeable drop in quality.
Tip: Use a tool like Photoshop or AI-based upscaling software, which allows you to preview the enlarged image before committing to it. Check for any visible artifacts or blurriness. It’s also wise to limit the enlargement to no more than 2-3 times the original size if possible, especially when preparing the image for print.
3. Use the Right Software for the Job
Choosing the right tool or software to enlarge an image is crucial for getting the best possible result. Different tools employ different algorithms to scale images. Some tools are better for enlarging images with minimal quality loss, while others may introduce more distortion.
Why it matters
Each tool has its strengths. For example, Photoshop’s "Preserve Details 2.0" resampling algorithm is great for enlarging images, as it maintains sharpness and reduces noise. On the other hand, AI-powered upscalers like Bigjpg use machine learning to intelligently predict and add pixels, often resulting in even better quality.
- AI-powered tools: These tools analyze the image and add details intelligently, making them ideal for large enlargements.
- Photoshop: Photoshop’s advanced resampling techniques allow for more control over the enlargement process and can provide better results when working with smaller images.
- Online tools: Platforms like Fotor or Let’s Enhance are great for those who need a quick and easy solution without the need for professional software.
Tip: For larger image enlargements, AI-powered tools are generally the best choice. For smaller, more controlled enlargements, Photoshop or manual resizing techniques may be sufficient.
Conclusion
Enlarging an image without losing quality is essential for maintaining professionalism in your content, whether it’s for print or digital use. By using AI-powered upscaling tools, Photoshop, or online platforms, you can ensure that your images remain sharp, clear, and visually appealing.
For businesses, especially e-commerce stores like those using Spocket for sourcing products or Smartli for AI-powered content generation, ensuring that images look great on your website or marketing materials is key to driving engagement and building a brand presence.
Frequently Asked Questions
What is the best resolution for enlarging an image?
The best resolution depends on the intended use of the image. For digital use, a resolution of 72 DPI (dots per inch) is typically sufficient. However, for print, you should aim for 300 DPI to ensure that the image maintains its sharpness and detail when enlarged. Higher resolutions provide better results during enlargement since more pixel data is available to work with.
Can I enlarge any image without losing quality?
No, there are limitations to how much you can enlarge an image before quality begins to degrade. Even the best tools can only do so much before the image starts showing signs of pixelation or blurriness. Ideally, you should aim to enlarge images only by 2 to 3 times their original size. The quality is best preserved when the starting image is already of high resolution.
How can I enlarge an image without pixelation?
To enlarge an image without pixelation, you should use high-quality AI-powered upscaling tools or advanced software like Photoshop. These tools intelligently add pixels and maintain detail, ensuring the image remains sharp and clear. AI-based tools, like Smartli, analyze the image and recreate the missing details, minimizing quality loss.
What is the difference between AI-powered tools and traditional software for enlarging images?
AI-powered tools use machine learning algorithms to analyze and add pixel data based on patterns, improving the quality of enlarged images. These tools typically produce better results when enlarging images significantly. On the other hand, traditional software like Photoshop uses resampling algorithms and may not produce as high-quality results as AI tools, especially for larger enlargements.
What’s the maximum size I should enlarge my image to avoid quality loss?
The ideal enlargement ratio is up to 2 or 3 times the original size. Enlarge the image beyond that limit, and you may start to notice a significant loss in quality, including pixelation or blurriness. It’s essential to be realistic and avoid pushing the image too far beyond its capabilities. Using AI-powered upscaling tools can provide better results for larger enlargements, but limitations still exist.


