


Images are everywhere online, from websites and social media to blogs and eCommerce stores. However large image files can slow down websites, hurting user experience and SEO. Studies show that 47% of users expect a webpage to load in 2 seconds or less. If it takes longer than 3 seconds, 53% of visitors leave. That’s why resizing images is essential. It helps improve site speed, boosts rankings, and keeps your content looking sharp.
In this guide, you’ll learn how to resize images easily without losing quality. Also, explore the best tools to get the job done quickly.
What Does Resizing an Image Involve?
Resizing an image means changing its dimensions height, and width while maintaining or adjusting its quality and file size. It is a crucial step in optimizing images for different platforms, ensuring they load quickly, fit specific requirements, and look sharp across devices.
Whether you're resizing an image for a website, social media, or print, understanding how resizing works can help you achieve the best results.
Key Aspects of Resizing an Image
When resizing an image, several factors come into play:
1. Changing Image Dimensions
The most fundamental part of resizing is adjusting the image’s pixel dimensions. You can reduce or enlarge an image’s width and height to match specific needs. For example:
- Websites: Often require images to be optimized for faster loading speeds. A full-width hero image might be around 1920x1080 pixels, while a thumbnail could be 150x150 pixels.
- Social Media: Each platform has specific size requirements. For example, Instagram posts work best at 1080x1080 pixels, while Facebook cover photos require 820x312 pixels.
- Print: A high-resolution print image might need dimensions like 3000x2000 pixels at 300 DPI (dots per inch) for clarity.
2. Maintaining Aspect Ratio
The aspect ratio is the proportional relationship between an image’s width and height. Resizing while keeping the original aspect ratio ensures the image doesn’t become stretched or distorted. Common aspect ratios include:
- 1:1 (Square) – Used for Instagram posts.
- 16:9 (Widescreen) – Standard for YouTube thumbnails and presentations.
- 4:3 (Standard TV & Print) – Common for older displays and documents.
Most image editors provide an option to “lock aspect ratio” when resizing to prevent distortion.
3. Adjusting Image Resolution
Resolution determines the number of pixels per inch (PPI) or dots per inch (DPI). Higher-resolution images appear sharper but have larger file sizes. When resizing:
- For web: 72 PPI is standard.
- For print: 300 PPI is ideal for high-quality prints.
Lowering resolution reduces file size but may cause pixelation if reduced too much.
4. Compressing File Size
Resizing an image can help reduce file size, but compression is often needed for further optimization. There are two main types of compression:
- Lossless Compression: Reduces file size without losing quality. Ideal for PNG or TIFF files.
- Lossy Compression: Reduces size more aggressively but may reduce image quality. Common in JPEG format.
Web-friendly image formats like WebP offer better compression while maintaining quality.
5. Choosing the Right Image Format
Different formats have different resizing implications:
- JPEG (JPG): Best for photos and complex images, but resizing too much can cause quality loss.
- PNG: Maintains transparency and works well for graphics, but can have larger file sizes.
- WebP: A newer format with better compression for web use.
- SVG: Scalable format ideal for vector graphics like logos.
6. Resampling vs. Resizing
Resampling is a process used when enlarging an image. Instead of just stretching pixels, resampling adds new pixels to maintain clarity. Common resampling methods include:
- Nearest Neighbor: Fast but may result in pixelation.
- Bilinear: Produces smoother images.
- Bicubic: Higher-quality method that preserves more details.
Reasons to Resize an Image
Resizing an image is essential for various purposes, from improving website speed to ensuring the best display on social media and print.
Why resizing is important is explained below:
Improve Website Speed
- Large images slow down websites, affecting user experience and SEO.
- 53% of users leave a site if it takes longer than 3 seconds to load.
- Resizing reduces file size, ensuring faster loading times.
Optimize for Social Media
- Each platform has specific image size requirements.
- Resizing ensures images fit properly without cropping or distortion.
- Instagram posts work best at 1080x1080 px, while YouTube thumbnails should be 1280x720 px.
Reduce File Size for Storage
- High-resolution images take up more space.
- Resizing reduces file size, making storage, cloud backups, and file sharing more efficient.
Maintain Aspect Ratio
- Prevents images from appearing stretched or squished.
- Tools allow locking the aspect ratio to maintain proportions.
Improve Mobile Friendliness
- Over 60% of web traffic comes from mobile devices.
- Large images can appear misaligned or load slowly on smaller screens.
- Resizing ensures better responsiveness across devices.
Meet Print Quality Standards
- Resizing ensures images meet DPI (dots per inch) requirements for print clarity.
- Web images are typically 72 PPI, while print images require 300 PPI.
Reduce Bandwidth Usage
- Large images consume more bandwidth, leading to slower downloads and higher hosting costs.
- Resizing minimizes data usage, benefiting website owners and users.
Ensure Compatibility
- Many platforms and CMS tools have size restrictions.
- WordPress recommends keeping images under 100KB, and email attachments are often limited to 25MB.
- Resizing ensures compatibility without loss of quality.
Improve Online Presentations
- For online courses and presentations, resized images improve readability.
- Faster loading in slideshows and PDFs.
Enhance Email Deliverability
- Large images in emails can trigger spam filters and slow downloads.
- Resizing ensures emails remain lightweight and display correctly across different email clients.
Tools and Software for Image Resizing
Resizing images is a fundamental task for various applications, from web design to social media and print media. Selecting the right tool can streamline this process, ensuring images are optimized without compromising quality.
Below is a curated list of notable image-resizing tools, highlighting their key features and pricing structures:
1. Adobe Express Free Image Resizer
Features:
- User-friendly interface for quick resizing.
- Supports multiple image formats, including JPEG, PNG, and WebP.
- Offers preset dimensions tailored for various social media platforms.
- Additional photo editing capabilities, such as background removal and filter application.
Pricing: Free to use.
2. Canva Magic Resize
Features:
- Enables quick resizing of designs for various platforms with a single click.
- Offers a vast library of templates and design elements.
- Supports collaborative features for team projects.
- Integrates AI-powered tools for enhanced design capabilities.
Pricing:
- Free Plan: Basic features with limited access to premium content.
- Pro Plan: Monthly or annual subscription with full feature access.
3. Microsoft Paint
Features:
- Built-in application for Windows users, offering basic image editing capabilities.
- Recent updates include AI-powered features like Generative Fill and Erase.
- Suitable for simple resizing and basic edits.
Pricing: Free for Windows users.
4. GIMP (GNU Image Manipulation Program)
Features:
- The comprehensive open-source image editor is suitable for advanced tasks.
- Supports a wide range of image formats.
- Offers batch processing for resizing multiple images simultaneously.
- Extensive plugin support to enhance functionality.
Pricing: Free and open-source.
5. Pixlr
Features:
- Cloud-based image editing suite accessible via web browsers.
- Provides AI-powered tools for quick resizing and other edits.
- Supports various image formats, including JPEG, PNG, and PSD.
- Offers both basic and advanced editing features suitable for different user levels.
Pricing:
- Free Plan: Basic features with ads.
- Premium Plan: Access to advanced tools and an ad-free experience.
How to Resize Image Using imageresizer.com
Resizing images is a common necessity, whether for web design, social media, or personal projects. ImageResizer.com offers a straightforward, free, and efficient solution to adjust your images' dimensions without compromising quality.
Step 1: Access ImageResizer.com
- Navigate to the Website: Open your preferred web browser and go to ImageResizer.com.
- No Installation Required: The platform is entirely browser-based, eliminating the need for any software downloads or installations.
Step 2: Upload Your Image
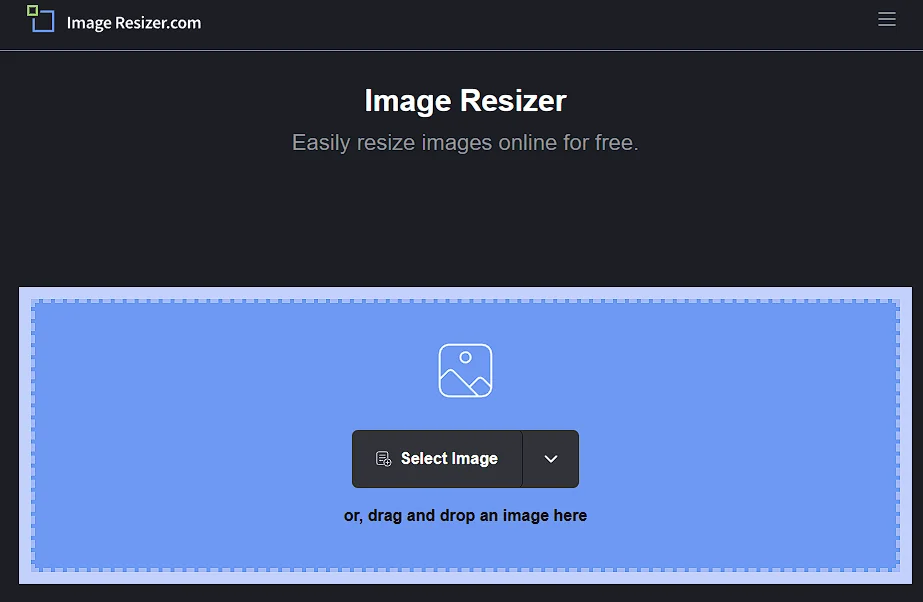
- Select Image: Click on the "Select Image" button prominently displayed on the homepage.
- Drag and Drop: Alternatively, you can drag and drop your image directly into the designated area on the website.
- Supported Formats: The tool supports various image formats, including JPEG, PNG, and WebP.
Step 3: Set Desired Dimensions
- Specify Dimensions: After uploading, you'll be prompted to enter the new dimensions for your image.
- By Dimensions: Input specific width and height values in pixels.
- As Percentage: Choose to scale the image by a certain percentage of its original size.
- Maintain Aspect Ratio: Ensure the "Lock Aspect Ratio" option is selected to prevent distortion, maintaining the image's original proportions.
- Background Options: If changing the aspect ratio, you can set a background color or choose transparency to fill any added space, ensuring the image remains visually appealing.
Step 4: Resize the Image
- Initiate Resizing: Once you've set the desired dimensions, click the "Resize Image" button.
- Processing Time: The platform processes images swiftly, typically within seconds, thanks to its cloud-hosted infrastructure.
Step 5: Download the Resized Image
- Download Prompt: After processing, a download link for the resized image will appear.
- Save to Device: Click the "Download" button to save the image to your device.
- Automatic Deletion: For privacy, all uploaded and processed images are automatically deleted from the server within 6 hours.
Additional Featurs
Bulk Resizing: If you need to resize multiple images simultaneously, ImageResizer.com offers a Bulk Image Resizer tool.
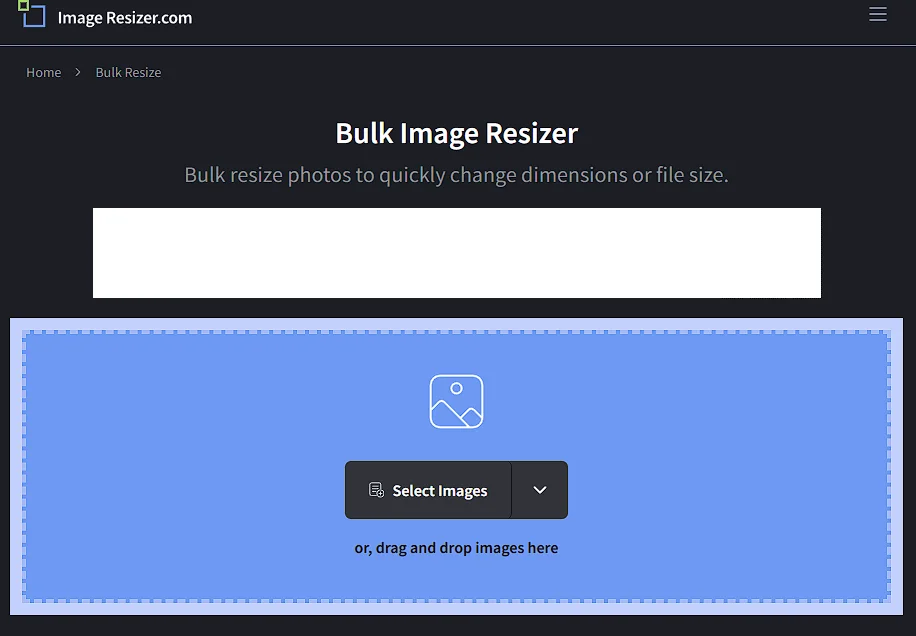
- Upload Multiple Images: Click on "Select Images" to upload up to 50 images at once.
- Set Target Size: Enter the desired dimensions or target file size for all selected images.
- Export Images: Click the "Export" button to process and download the resized images in a compressed ZIP file.
Advanced Settings: For precise control, you can specify dimensions in units like pixels, inches, centimeters, or millimeters, catering to both digital and print needs.
How to Resize an Image on Paint
Microsoft Paint is a simple yet effective tool for resizing images on Windows. Whether you need to adjust an image for web use, social media, or printing, Paint allows you to resize images quickly without additional software.
Follow these detailed steps to resize an image using Microsoft Paint.
Step 1: Open the Image in Paint
Launch Paint:
- Click on the Start Menu and type "Paint" in the search bar.
- Select Microsoft Paint from the search results.
Open Your Image:
- Click on File > Open and browse for the image you want to resize.
- Select the image and click Open to load it in Paint.
- Alternatively, you can right-click on the image file and select Open with > Paint.
Step 2: Access the Resize Option
Once the image is loaded, locate the Resize and Skew option:
- Click on the Home tab in the toolbar.
- Look for the Resize button in the "Image" section and click it.
- A Resize and Skew dialog box will appear.
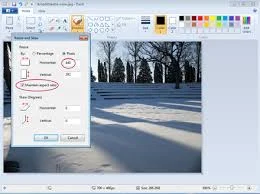
Step 3: Choose the Resizing Method
You have two resizing options
Resize by Percentage:
- This method scales the image based on a percentage of its original size.
- Enter a value in the Horizontal and Vertical fields (e.g., entering 50% will reduce the image size by half).
Resize by Pixels:
- This allows you to set the exact width and height in pixels.
- Make sure the Maintain aspect ratio box is checked to prevent distortion.
- If you uncheck it, you can enter different values for width and height, but the image may become stretched.
Step 4: Apply the Resize Changes
- Once you have entered your desired dimensions, click OK.
- The image will be resized instantly.
- If the image appears distorted, press Ctrl + Z to undo it and try resizing again with a different method or ratio.
Step 5: Save the Resized Image
- Click on File > Save As to prevent overwriting the original image.
- Choose the desired file format:
- JPEG/JPG – Best for web and general use.
- PNG – Preserves transparency (if applicable).
- BMP – Higher quality but larger file size.
- GIF – Suitable for simple graphics.
- Select a folder, rename the file if needed, and click Save.
Additional Tips for Resizing in Paint
- Check the Image Size Before Resizing: Click File > Properties to see the current image dimensions.
- Crop Before Resizing: If needed, use the Select tool to crop unwanted parts before resizing.
Use Keyboard Shortcuts
- Ctrl + O – Open an image
- Ctrl + S – Save the image
- Ctrl + Z – Undo the last action
Conclusion
Resizing an image is a simple yet essential process that improves website speed, optimizes visuals for social media, enhances mobile responsiveness, and ensures compatibility across platforms. Whether you're resizing for web use, print, or storage efficiency, choosing the right method and tools helps maintain image quality while reducing file size. With various online tools and software available, anyone can resize images quickly without technical expertise.
By applying best practices, such as maintaining the aspect ratio and using appropriate resolution, you can ensure your images look sharp and load efficiently wherever they are used.
How to Resize An Image FAQs
How do I reduce the KB size of an image?
You can reduce image size by:
- Compressing it using TinyPNG or JPEG-Optimizer.
- Resizing dimensions in Paint, Photoshop, or ImageResizer.
- Changing format (e.g., PNG to JPEG or WebP).
- Lowering quality in an image editor.
These methods reduce file size without significant quality loss.
How do I resize a JPEG image?
Resize a JPEG using:
- Online tools (ImageResizer, ResizePixel).
- Paint (Windows): Open → Resize → Save.
- Photoshop: Image > Image Size > Enter dimensions > Save.
- Mac Preview: Tools > Adjust Size > Save.
Resizing helps adjust file size for different platforms.
How do I resize a photo file size?
To resize a photo’s file size:
- Reduce dimensions (width & height).
- Use compression tools (TinyPNG, JPEG-Optimizer).
- Change format (JPEG/WebP instead of PNG).
- Adjust quality while saving.
- Crop unnecessary parts.
These steps optimize storage and improve load speed.
What is 4.5 cm * 3.5 cm in KB?
File size depends on DPI, format, and compression:
- 300 DPI JPEG – Around 100-250 KB
- 72 DPI JPEG – Around 20-50 KB
- PNG format – Up to 500 KB


